Plant Profile
Caladium
a.k.a Caladium bicolor
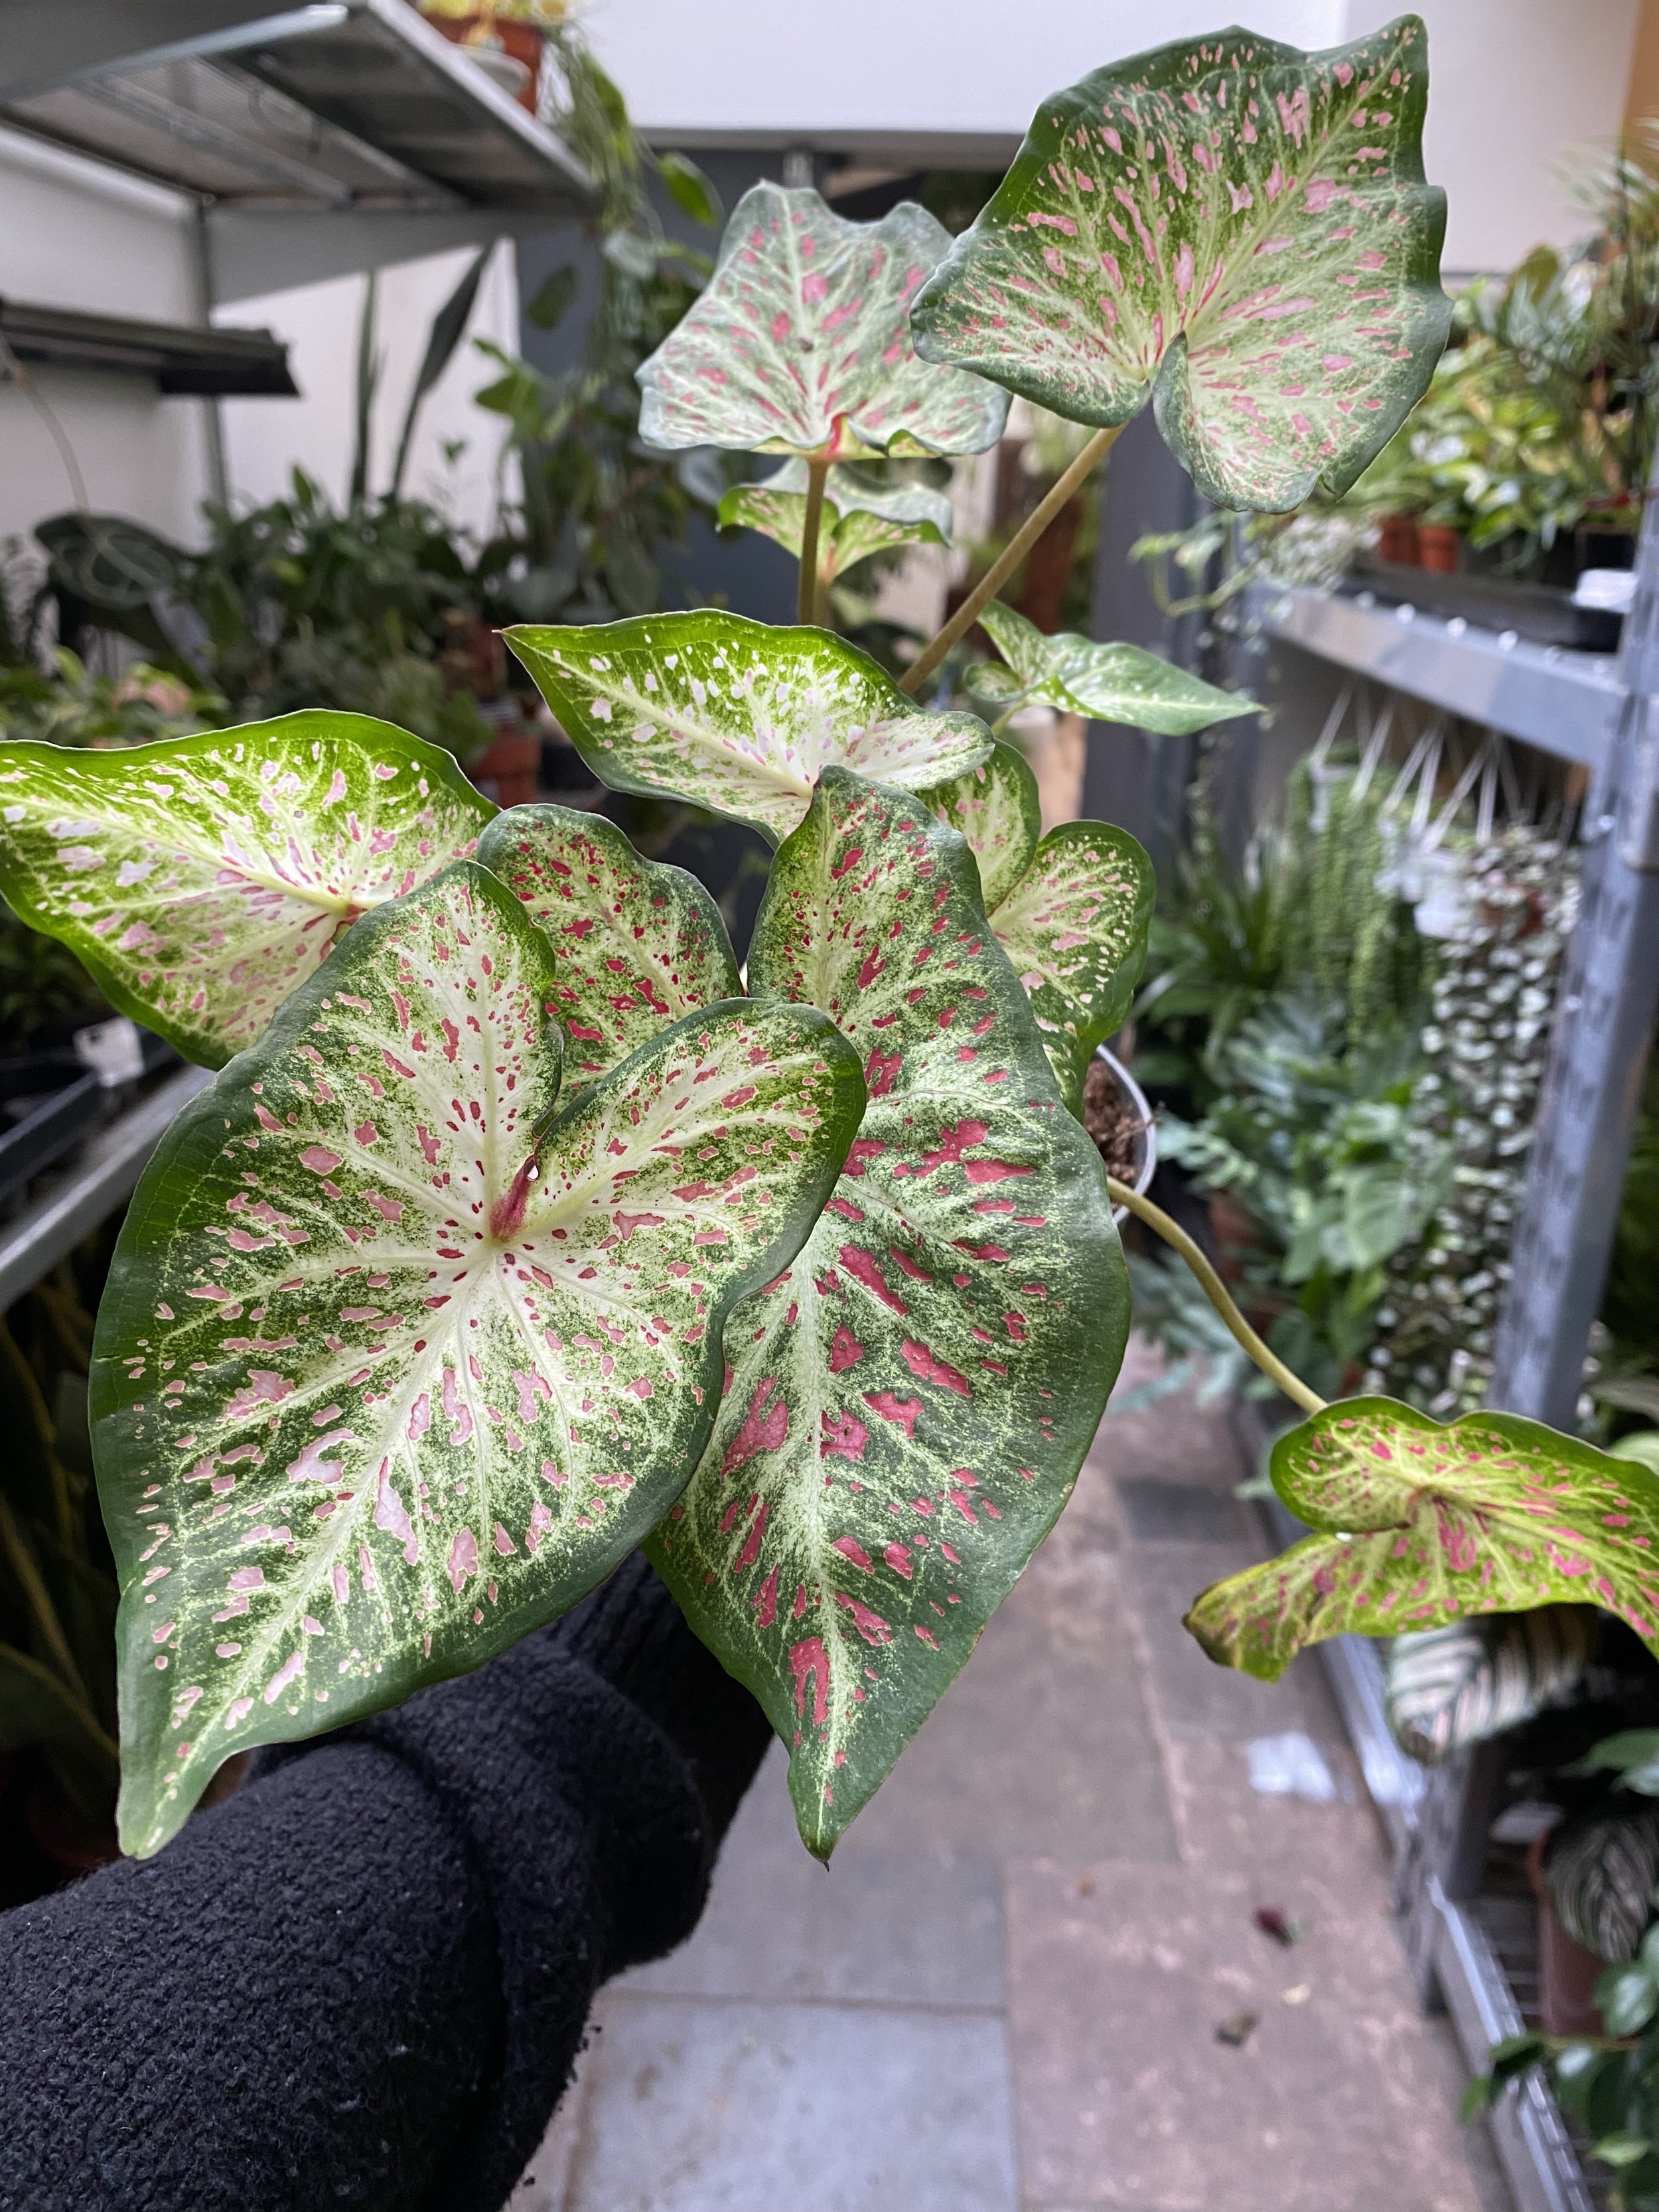
A firm favourite among The Grow crew… even if it does spend nearly half the year with no leaves. When it does show, IT’S A SHOW. Its paperthin, arrow-shaped leaves have the sickest patterns and colours and are reason enough to get your hands on one. Native to South America, the Caladium is a tropical tuberous plant.
Caring for a Caladium is a little more challenging than your more common houseplants. They’re not too tolerant of the cold, they need to maintain high humidity levels and they enter a period of complete dormancy during the autumn for five months, where you will need to cut back your plant to bulb - more on that below.
Top Tips
✔ During the autumn the Caladium will die back as it prepares to go into complete dormancy for the winter. When this begins to happen allow the soil to completely dry and remove all of the plant’s dead leaves.
✔ During the dormancy period store the plant in a cool, dark place (keeping temperatures between 18 - 21°C) and water sparingly.
Plant Care
-
The Caladium prefers medium - bright, indirect light. Keep your Caladium out of direct sunlight as this can scorch the plant’s leaves.
-
During the spring and summer, when the plant is actively growing, the soil should be kept evenly moist (but never soggy). Towards Autumn you can cut back on watering significantly as the leaves begin to droop and drop.
-
The Caladium requires high humidity in order to prevent its leaves from turning brown. Misting around the plant a few times a day will do this, or a small humidifier will help. Placing the plant on a pebble tray is also a good shout. Caladium’s can also be grouped with other plants to help increase the humidity levels.
-
Feed the plant once every two weeks with a diluted liquid fertiliser during the spring/summer growing period.
-
Caladium’s are much happier in consistent warmer conditions and are not at all tolerant of the cold. During the spring and summer temperatures should be kept between 21-25°C, when the plant is in its dormancy period the temperatures should be lower but should not be allowed to fall below 12°C.
-
This plant is toxic, make sure to keep it away from children and pets.
-
The easiest way to propagate a Caladium is by dividing the plant’s tubers. When dividing make sure that each new tuber has at least one growing site. Once divided, leave the tubers for a couple of days so that the wound dries and then plant them as normal.
-
Cut back your Caladium in the Autumn, (see our guide below or on our Insta page @thegrow.ldn on how to do this) In the spring repot the Caladium tubers using a fresh potting mix and continue to care for them as normal.
Overwintering your Caladium
1/
Loosen plant from pot - avoid watering beforehand to make this easier. Clean off soil to reveal bulb [also known as a ‘corm’]
2/
Check bulb and roots are not brown or mushy and there are no pests lurking. Roots should also look healthy and white.
3/
4/
5/
Chop back tubers to the soil line and trim back roots!
Label your paper bag and Plant tag with your Caladium variety so you know what it is next Spring. Leave exposed to dry out completely for a week or 2
Place in a paper bag or any breathable material [not a plastic food bag as your bulbs will rot!] Store in a cool, dry location until spring


Quick Plant check up
Fresh brown leaves
These will be the result of the plant being dehydrated and receiving too much direct sunlight. Remove the brown leaves and remember to water the plant regularly whilst providing it with medium - bright, indirect light.
Leaves fading
If the variegation on the leaves is fading this will be due to the plant not receiving enough light. Move it to a brighter spot (with indirect light)
Yellowing leaves
This will be caused by the plant being overwatered. Allow the plant to dry out slightly to avoid root rot and aim to keep the soil moist but not soggy.


